Introduction
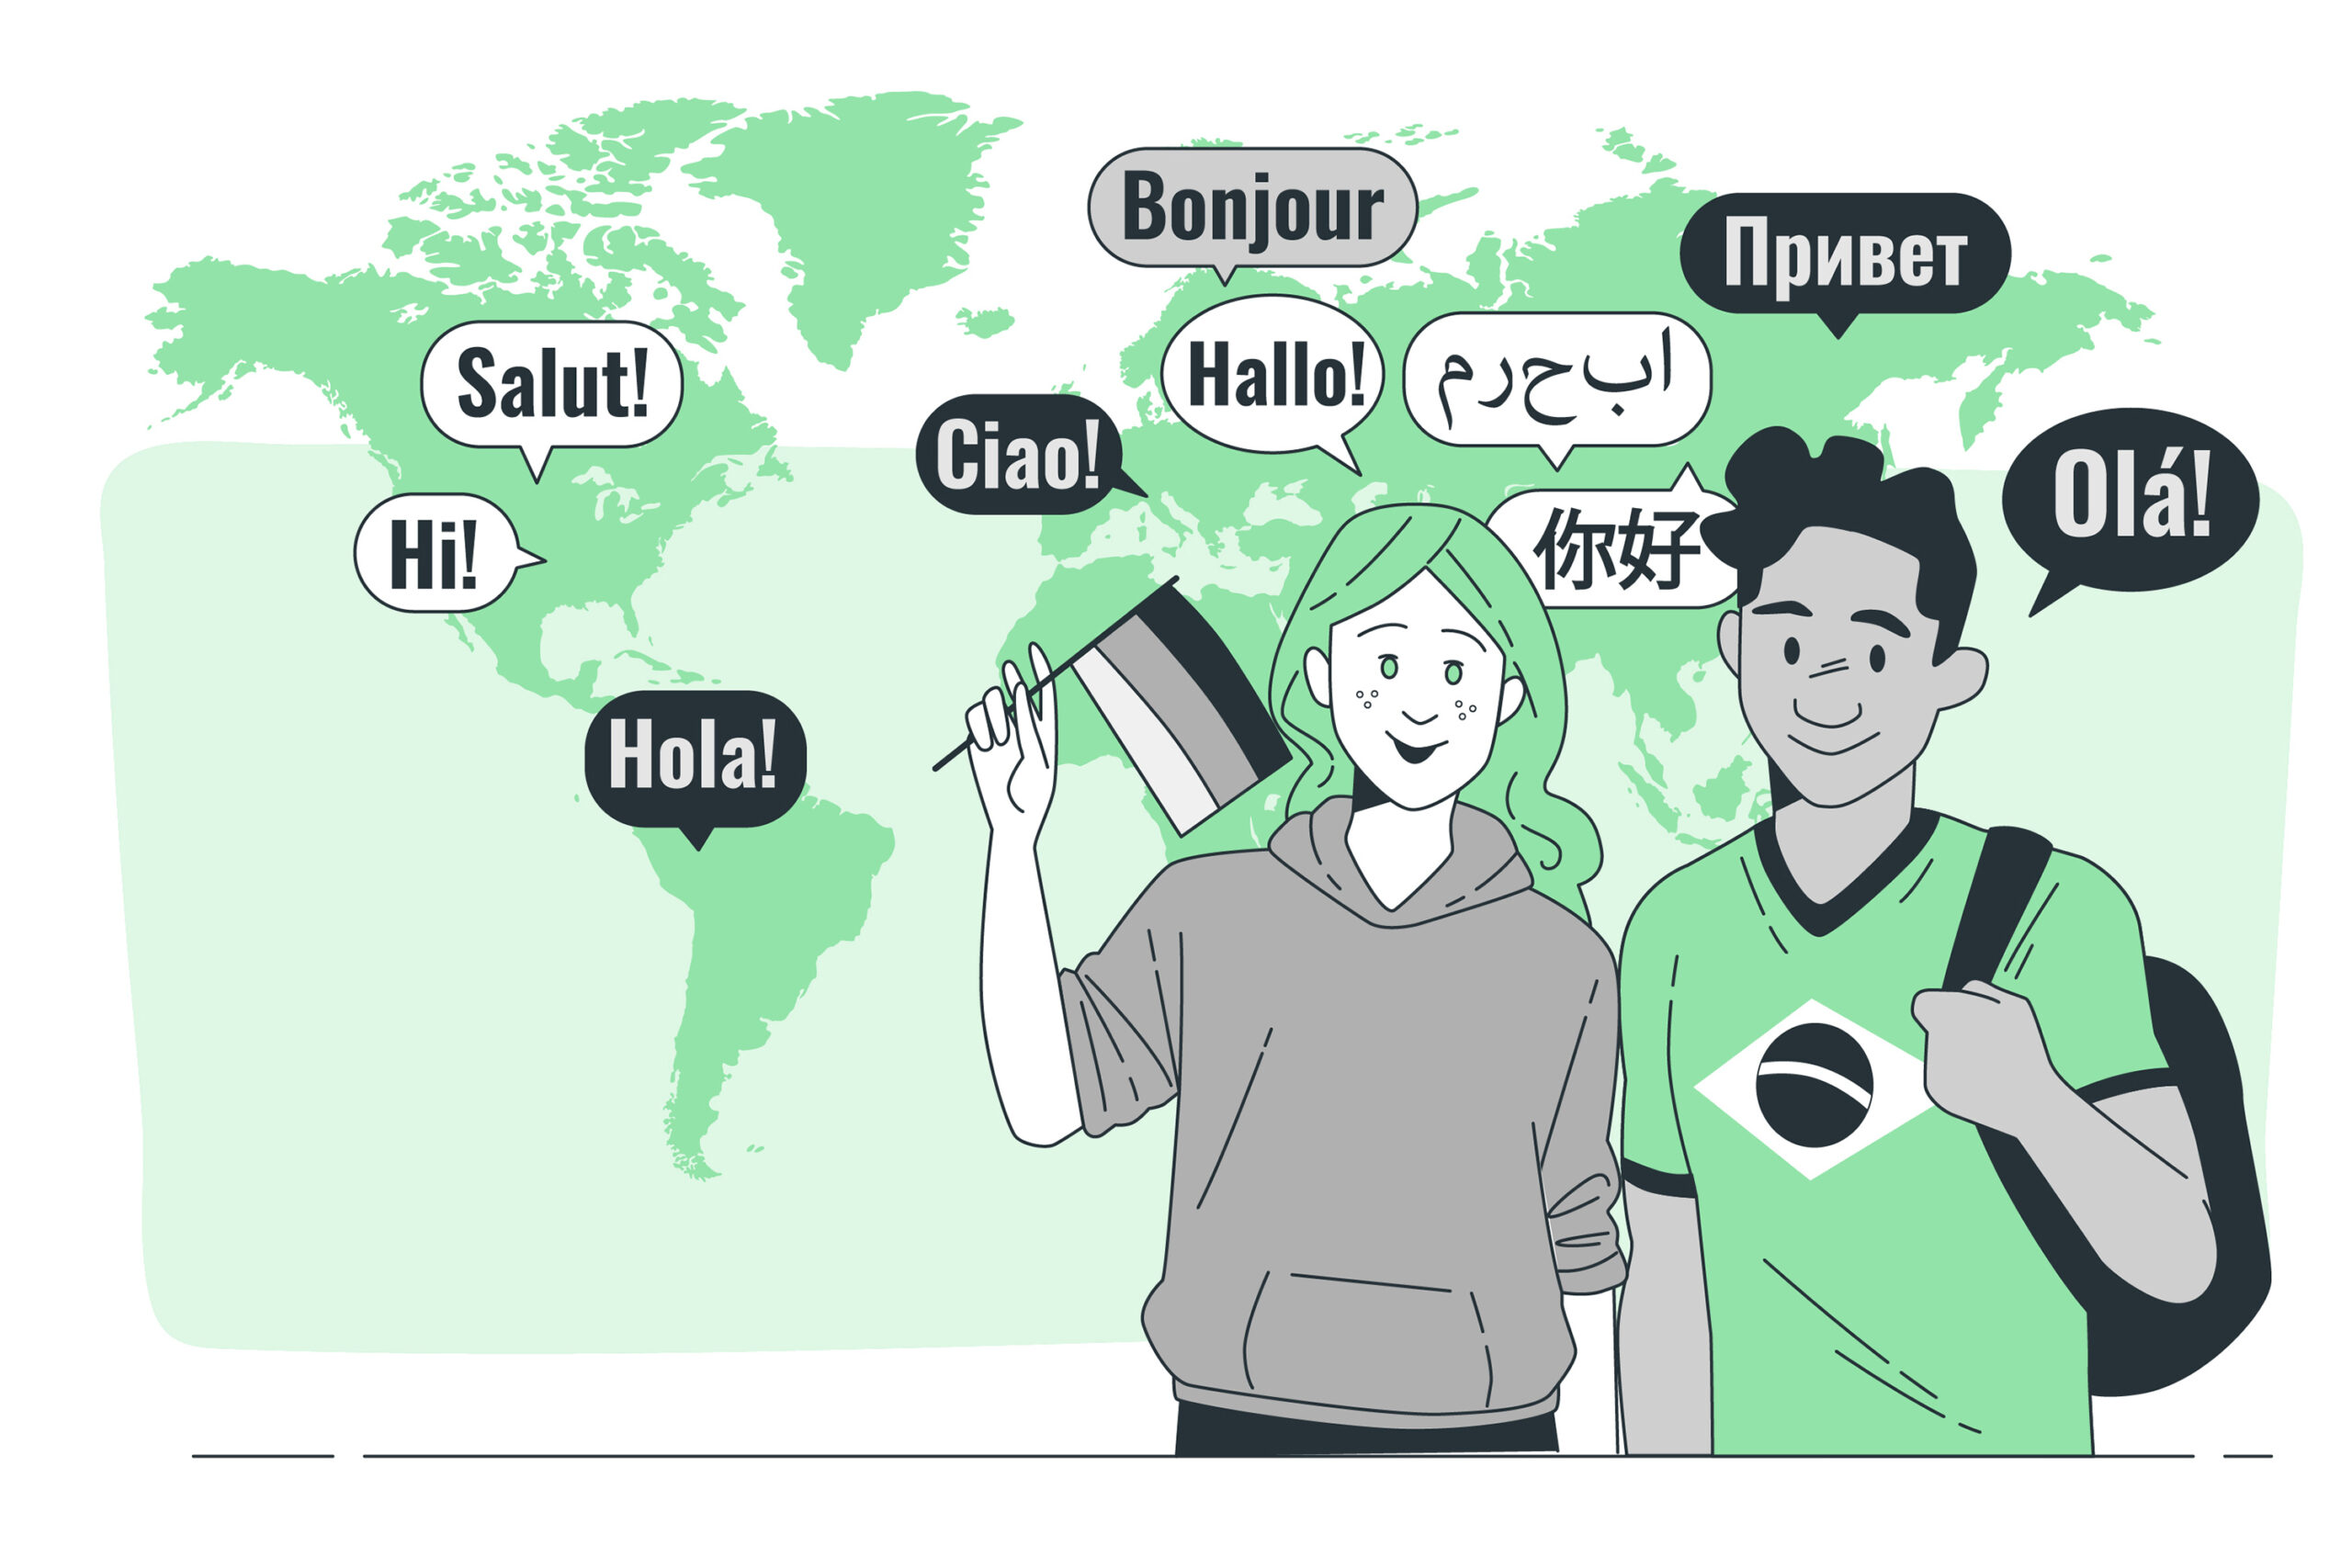
Are you looking to expand the reach of your Flutter app and provide a more inclusive user experience? Adding multilingual support is the key to breaking language barriers and connecting with a global audience. In this blog post, we will explore how you can easily achieve this using GetX, a powerful state management library for Flutter. So, let’s dive in and discover how to unlock the full potential of multilingualism in your Flutter app!
Why Localize Your Flutter App?
Before we delve into the technical details, let’s first understand why adding localization to your Flutter app is essential. By supporting multiple languages, you can:
-
Reach a Wider Audience: By offering content in various languages, you can connect with users from diverse linguistic backgrounds, expanding your app’s user base significantly.
-
Improve User Experience: Users are more likely to engage with an app that speaks their language. Providing content in their native language enhances user satisfaction and increases the chances of app retention.
-
Global Market Penetration: Localizing your app opens doors to international markets, enabling you to tap into new regions and demographics.
The Power of GetX for State Management
Before we proceed, let’s take a moment to appreciate the power of GetX as a state management solution. GetX is a lightweight yet feature-rich library that offers reactive state management, dependency injection, and more. Its simplicity and performance make it a popular choice among Flutter developers.
Step-by-Step Localization Implementation
Now, let’s get into the nitty-gritty of implementing localization in your Flutter app with GetX:
Step 1: Add Dependencies
To start, open your project’s pubspec.yaml file and add the necessary dependencies:
dependencies:
flutter:
sdk: flutter
get: ^4.6.1 # Check for the latest version on pub.dev
get_storage: ^2.0.3 # For storing localized data
flutter_localizations:
sdk: flutter
Run flutter pub get to install the added dependencies.
Step 2: Set Up Language Files
Create language files for each supported language. Typically, these files are named in the format strings_{locale}.json. For example, strings_en.json for English and strings_es.json for Spanish.
The contents of the language files should be structured like this:
{
“welcome_message”: “Welcome to My App!”,
“button_label”: “Click Me”,
…
}
Step 3: Initialize GetX and Load Locale
In your app’s main file, import the required packages and initialize GetX:
import 'package:flutter/material.dart';
import 'package:get/get.dart';
import 'package:flutter_localizations/flutter_localizations.dart';
import 'package:get_storage/get_storage.dart';
import 'package:your_app/localization/app_translations.dart';

void main() async {
  await GetStorage.init();
  runApp(MyApp());
}

class MyApp extends StatelessWidget {
  @override
  Widget build(BuildContext context) {
    return GetMaterialApp(
      localizationsDelegates: [
        AppTranslations.delegate,
        // Replace AppTranslations with your localization class
        GlobalMaterialLocalizations.delegate,
        GlobalWidgetsLocalizations.delegate,
      ],
      supportedLocales: [
        Locale('en', 'US'),
        Locale('es', 'ES'),
        // Add more locales for other languages you support
      ],
      home: YourHomePage(),
    );
  }
}
Step 4: Create Localization Class
Create a class to handle localization using GetX. This class should extend Translations and implement the necessary methods:
import 'package:get/get.dart';

class AppTranslations extends Translations {
  @override
  Map<String, Map<String, String>> get keys =>
      {
        'en_US': {
          'welcome_message': 'Welcome to My App!',
          'button_label': 'Click Me',
          ...
        },
        'es_ES': {
          'welcome_message': '¡Bienvenido a Mi Aplicación!',
          'button_label': 'Haz clic',
          ...
        },
        // Add more language translations as required
      };
}
Step 5: Use Localization in Widgets
Now you can easily access localized strings in your widgets using GetText:
import 'package:flutter/material.dart';
import 'package:get/get.dart';
import 'package:your_app/localization/app_translations.dart';

class YourHomePage extends StatelessWidget {
  @override
  Widget build(BuildContext context) {
    return Scaffold(
      appBar: AppBar(
        title: Text('App Localization with GetX'),
      ),
      body: Center(
        child: Column(
          mainAxisAlignment: MainAxisAlignment.center,
          children: [
            GetText('welcome_message'),
            ElevatedButton(
              onPressed: () {},
              child: GetText('button_label'),
            ),
          ],
        ),
      ),
    );
  }
}
Conclusion
Congratulations! You’ve successfully implemented localization in your Flutter app with GetX. By supporting multiple languages, you’ve paved the way for broader app accessibility and global user engagement. Embrace the power of localization to connect with a diverse audience and create memorable user experiences.
Remember, in a globalized world, multilingualism is the key to unlocking untapped opportunities for your app. Happy coding!
